My mom says funny things in weird voices and we laugh hysterically together. Sometimes in a exaggerated crying voice she says, "my daddy's dead". It's so funny the way she says it. Guess you'd have to be there. About now I feel like saying "my grandma's dead" in the same whiny voice. I want to learn how to hand quilt and all my grandmas have passed on. Hand quilting is a dying art. It's dying with our grandmas. I'm determined to learn how and pass the art on to my girls. My first thought was maybe they have classes at a quilt shop. Sadly I found none. They told me there is no interest. Sad. So so sad.
Does anyone have a granny I can borrow?
This art is dying. Machine quilts are beautiful, fast, almost perfect. But something inside me sees the beauty in the hand made. Love sewn right into the quilt. So here I am ready to sew, all I need is to borrow someone's grandma! Well sort of....on Youtube! Yay! Youtube.com has it all. Since I couldn't find a real granny, youtube is the way to go.
Last week I shopped for fabric and supplies. Fabric selection is the hardest part. The task is daunting in itself. Try adding three little ones to the experience. Takes twice as long. They were almost angels in Joann if you ask me. A little fighting and running away but pretty well behaved. This is what I bought.
 |
| Cotton batting, thread, starch, basting spray, needles, thread, thimbles, needle threaders and needle case, seam ripper, and fabric pencils. |
 |
1/4 yd of seven (make that six) coordinating color fabics for strips (I ditched the wavy stripe-it was too Easter-y), 3/4 yd of white with gray dots for strips and binding, and 2 yards gray with white dots for strips and backing. |
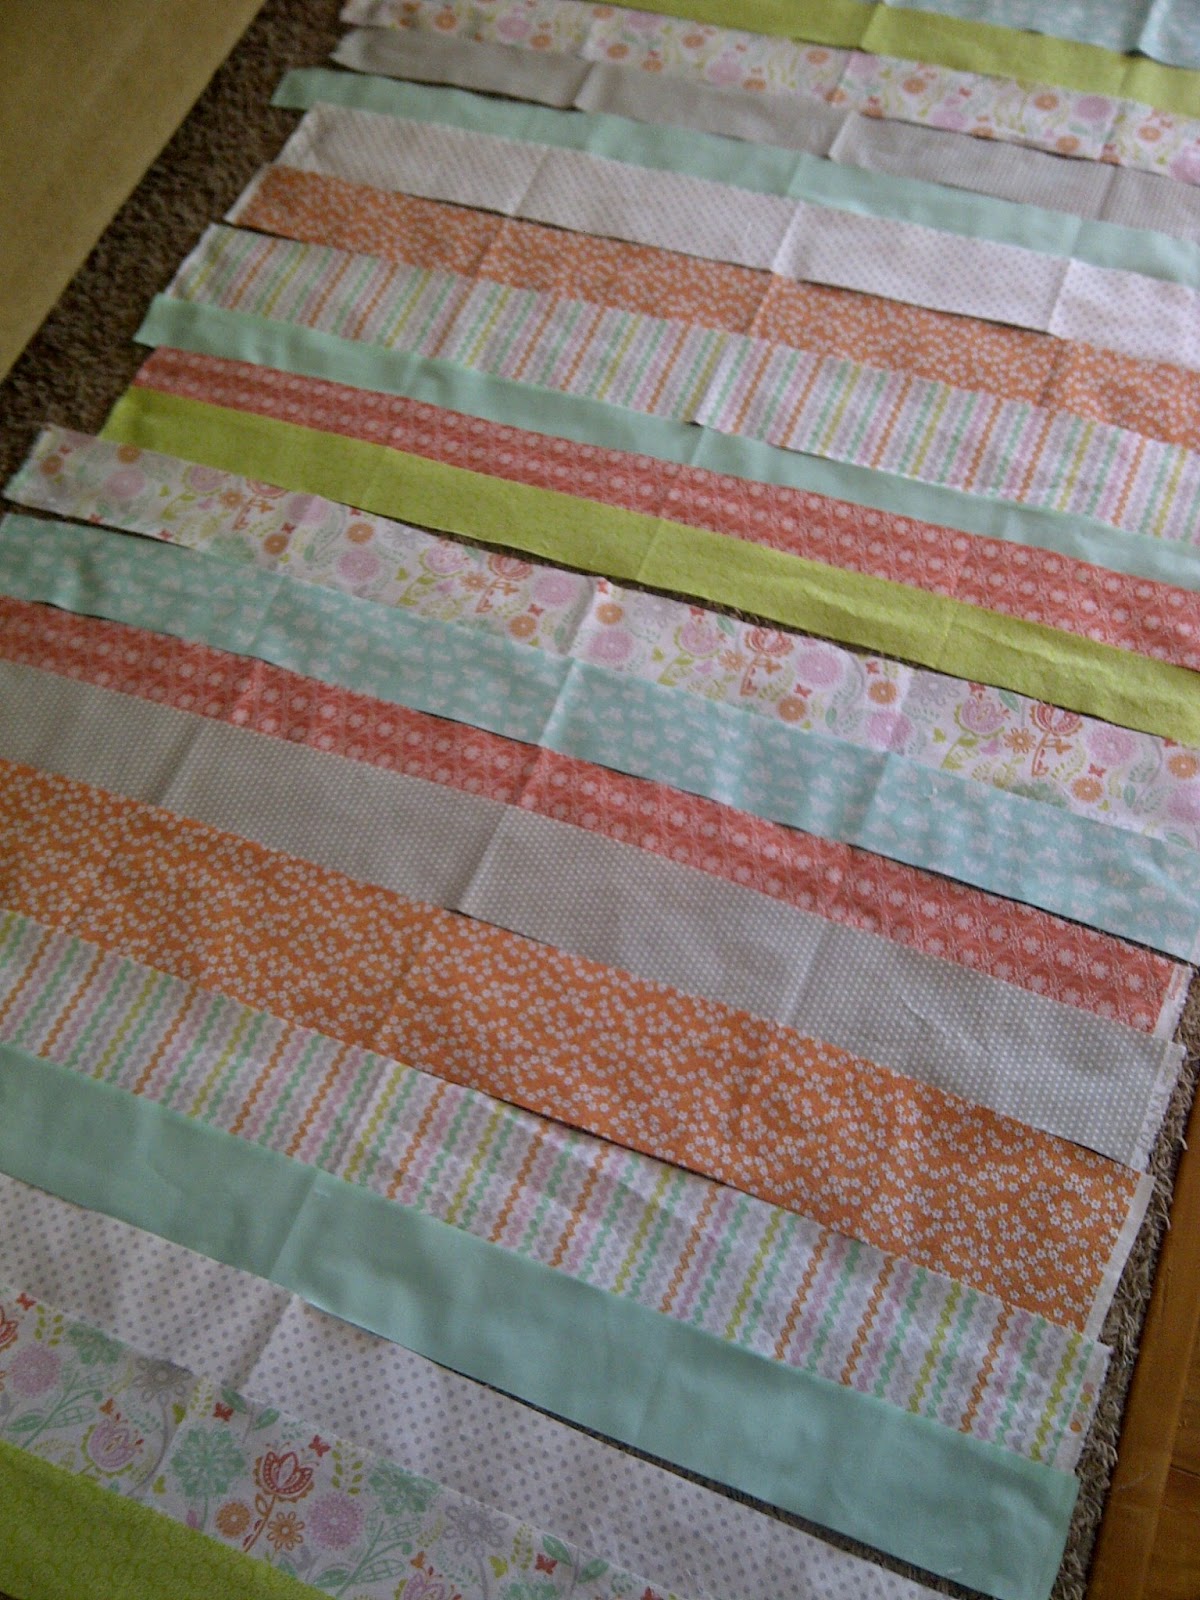
I'm making a strip quilt. Super simple to peice together--it's all straight lines.
 |
| Here it is all laid out before I decided to remove the wavy stripes. |
 |
I sprayed each peice with starch when I ironed so it would stiffen the fabric a little.That way I didn't have to pin the peices together.
|
Time to layer. First I ironed the backing fabric and taped it to the floor.
Then I ironed the quilt top with the batting under it to smooth out the batting and temporarily hold them together. I centered that on top of my backing and smoothed out all the wrinkles.
Now this part excites me! In the past I used pins to baste my quilt layers together. Not anymore!! I pulled up each layer and sprayed the batting with basting adhesive. Let it dry a minute or two and then smoothed it down with my hands to stick it together. So happy with the results!!
 |
| Spray the batting and not the top or backing. |
 |
| Pull each layer half way back, spray the batting, slowly lower it back down on to the batting. Press firmly and smooth out the wrinkles. |
(The spray basting adhesive holds so nicely. It's been working great even as I'm hand quilting and moving it all over the place.)
Finally! I'm ready to begin hand quilting. So excited, I can't contain myself. Haha! Must be getting old. I watched some youtube videos to figure out what to do. This
series was very helpful (even though she is definitely not a granny)!!
For my quilt I decided to do a ton of random circles overlapping eachother.
 |
| Tracing my glassware with a fabric pencil. |
 |
| Beginning to stitch. |
 |
| This part took me about 2 hours. :) |
I've done about 2 square feet of quilting and have many many hours ahead of me. This should keep me busy through the last few Minnesota snowfalls in March. Can't wait for Spring! I'll post some better pics when it's done. Thankful for youtube.com (technology) so I could learn to create a beautiful quilt without a machine (more technology).
What are you creating?


0 comments:
Post a Comment